
- Sign Up Or Log in to your account in Jemputan.
- Click the Catalog button in menu bar
 , choose the design in the Catalog. You can filter the theme & colour of the design.
 - Once you have choose the design, click “Try Now” button.
Main & Opening
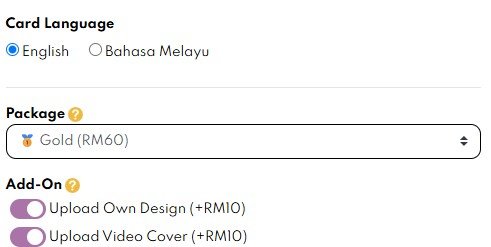
- Choose the language for your card (Malay or English).
- Select the package you want.
- For customers who want to use their own design, enable the Add-on button below.

- Fill in the opening style, animation effects, and colors suitable for your card. Click Save button
 and proceed to the next section.
Cover Page
- Enter the Type of Event (e.g., Wedding Reception, Thanksgiving Ceremony, Birthday Party, etc.).
- Enter the Nicknames of the celebrated individuals.
- Choose the font, size, and color for the Nicknames.
- Fill in the details in the Date & Time of Event, Day & Date, and Event Location sections.
- Click More Settings button.
- Choose a Layout for the position of the Nicknames on your card’s front page.

- Select a Menu Bar Color for your card.
- Button labels on the menu bar will be displayed if you enable the Label button.

- Music and Calendar buttons will also appear if you enable the Music and Calendar buttons, as shown in the example image below.

- You can also hide the Music, Calendar, and Menu Bar Labels by disabling the respective buttons, as shown in the image.

- Click Save and proceed to the next page once you’re satisfied with your front page.


Invitation Text
- Enter the Greeting text. You can also use the pre-written text provided by Jemputan in this section.
- Select the Number of Organizer and enter the names and relationships of the organizers to the celebrated individual.
- Choose the font and size for the Organizers’ Names.
- Enter the invitation message in Phrases section. You may also use the pre-written text provided by Jemputan in this section.
- Enter the Full Name of the celebrated individual.
- Choose the font and size for the Full Name.
- Click Save and proceed to the next page once satisfied.
Venue & Navigation
- Enter the Hijri Date of your event (if applicable).
- Refer to the link below if your event has multiple locations:
https://blog.jemputan.me/how-to-add-multiple-event-venues-in-one-card/ - You can only upload one location under the Navigation section.
- Enter your Google Maps / Waze link or GPS coordinates. Refer to this link for guidance:
https://blog.jemputan.me/location-sharing-via-google-maps-and-waze/ - Enter the GPS coordinates of the event location (if available).
- Click Save and proceed to the next page once satisfied.
Programme & Add. Info
- Fill in your event’s itinerary details in this section.
RSVP / Wishes
- Refer to the link below on how to fill in RSVP/Wishes information:
https://blog.jemputan.me/rsvp-wishes-guideline/
Contacts
- Enter contact phone number’s and names for guests to reach during your event.
Song & Autoscroll
- Enter a YouTube link for background music for your card.
- You can set the start time (in minutes) for when the music begins playing.
- Enable the Autoplay button if you want the music to play automatically.
- Please note the following:

- You can delay auto scroll by setting a delay time.
- If you don’t want the auto scroll feature, set the Auto Scroll Delay to the maximum time, as shown in the image.


Segment & Finish
- You can enable any of the options below that you want to display in your card.

- If you are using the Full Custom or Motion Invite mode, please disable options for pages 2–3.

- Click Save button to save your card.


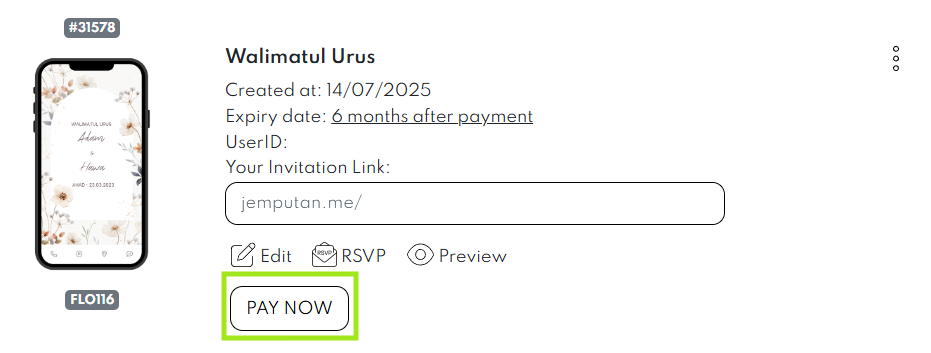
How To Make Payment
- Go to your Orders. Click PAY NOW button.

- You will be redirected to Toyyibpay page. Please proceed with the payment accordingly.
- Kindly approach Jemputan Team if you have any issue with your payment process.
Leave a Reply