How To Add On Customized Design
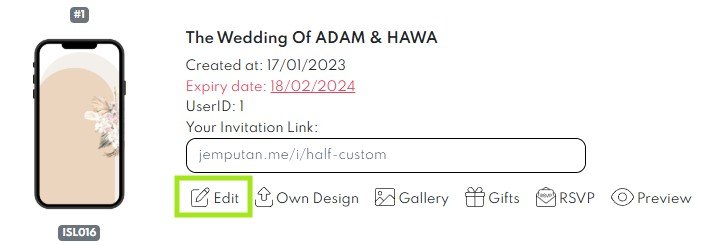
- Log in to your account. Click Orders & Edit Button.

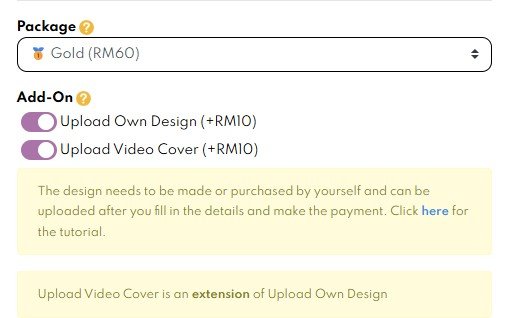
- Turn on the Add-On button below. If your design includes a motion video, please also enable the “Upload Video Cover” option.

- Click
 save button in your card.
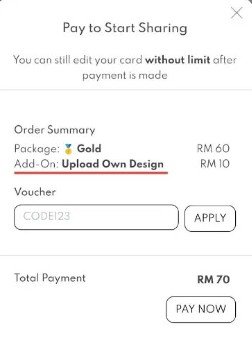
 - Please proceed with payment. Please ensure the Add-on feature is listed in the Order summary before completing your payment.

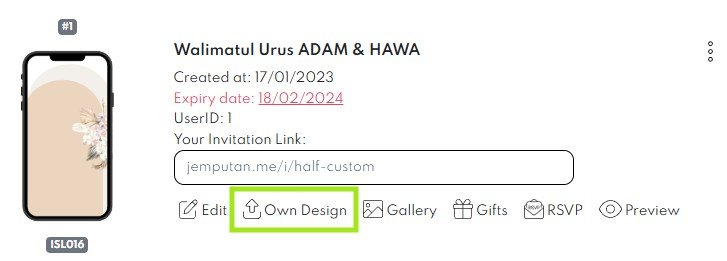
- Once the payment is completed, go to Orders and click the “Own Design” button.

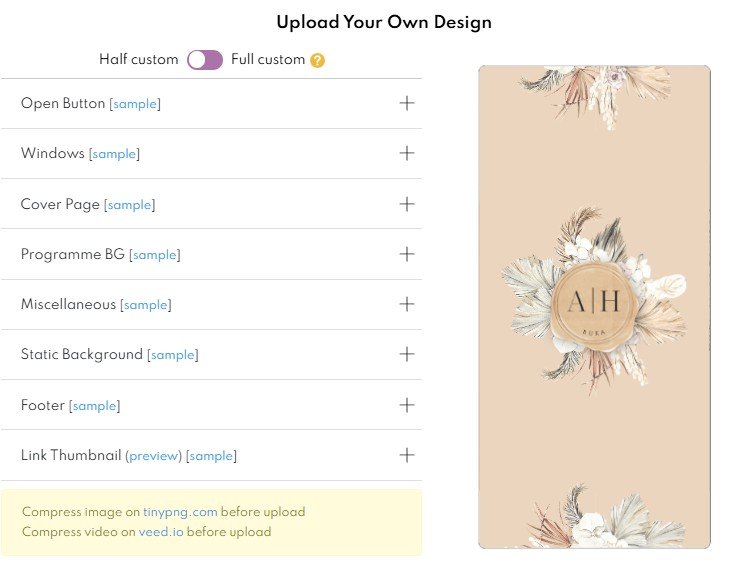
- Next, below pop-up window will appear. You may upload your customized design in this window.

- Your design must be in image format (JPG, PNG, JPEG, or WEBP).
- To ensure optimal performance, please compress your file to avoid slow loading times.
Half Custom Vs Full Custom
Half custom only allows you to use Jemputan’s template for Pages 2 to 4 (Cover Page, Invitation Text, and Venue & Navigation).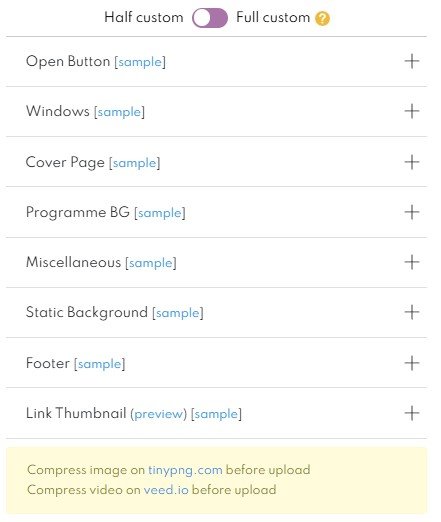
Full custom allows you to use your own template for Pages 1 to 4 (Cover Page, Invitation Text, Programme Itinerary, and Venue & Navigation).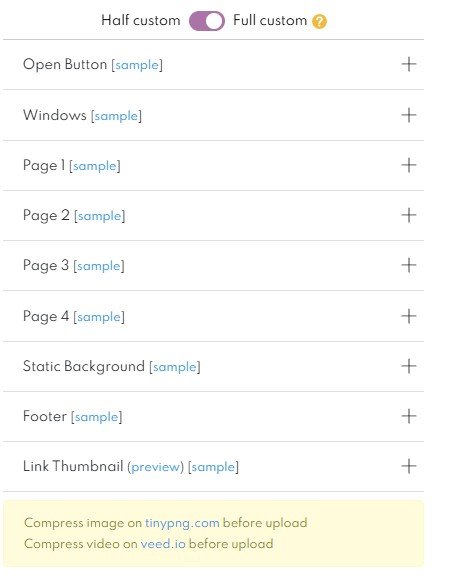
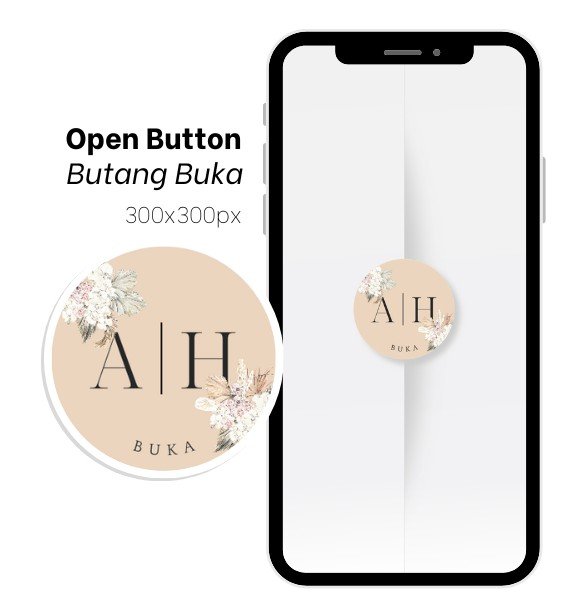
Open Button
- Open Button is a button that guest need to click to open your card.
- The image of the Open Button must follow the designated size (300×300 px).
- Below is an example of an Open Button.

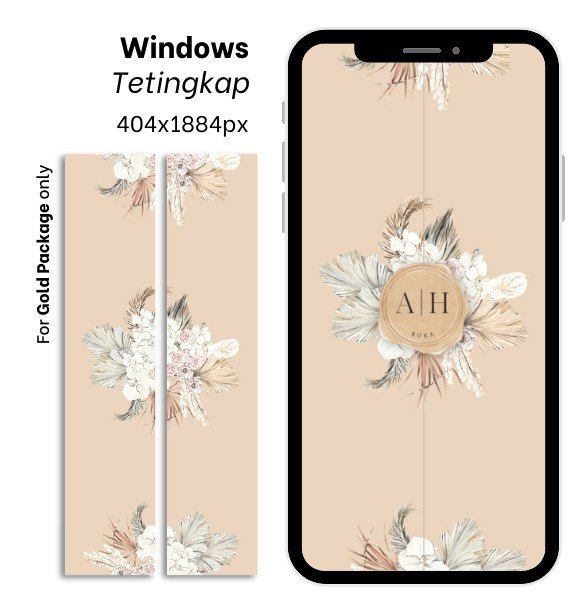
Windows
- Windows is the interactive section that appear when the Open Button is clicked, allowing guests to view the contents of the card.
- This feature is available exclusively for Gold Package subscribers.
- The image must follow the designated size (404 x 1884 px).
- Below is an example of Windows.

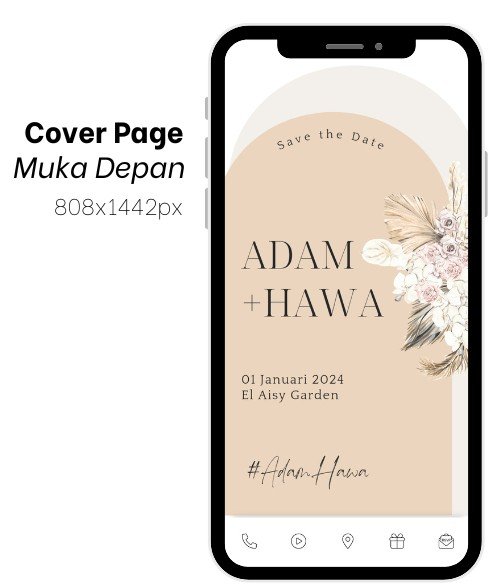
Cover Page
- Cover Page is the first page that appears when the digital card is opened
- The image must follow the designated size (808×1442 px).
- Below is an example of a Cover Page.

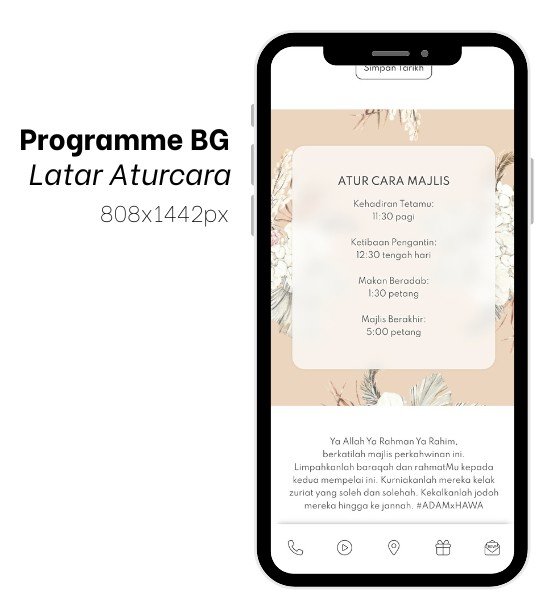
Programme Background (BG)
- Programme BG is the background image displayed in the Event Itinerary section.
- The image must follow the designated size(808×1442 px).
- Below is an example of Programme BG.

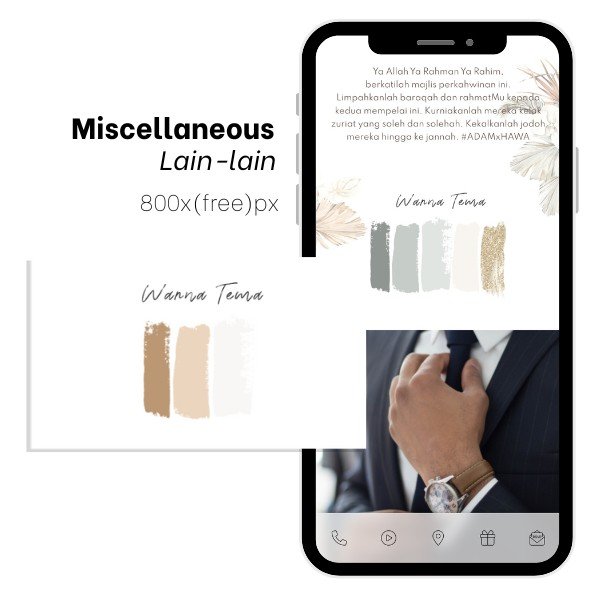
Miscellaneous
- This is a bonus section that appears after the Hashtag section (eg: #AdamHawa).
- You may upload any image such as (dress colour codes, event themes, etc) in this section.
- The image must follow the designated size (808x free px).
- Below is an example of Miscellaneous section.

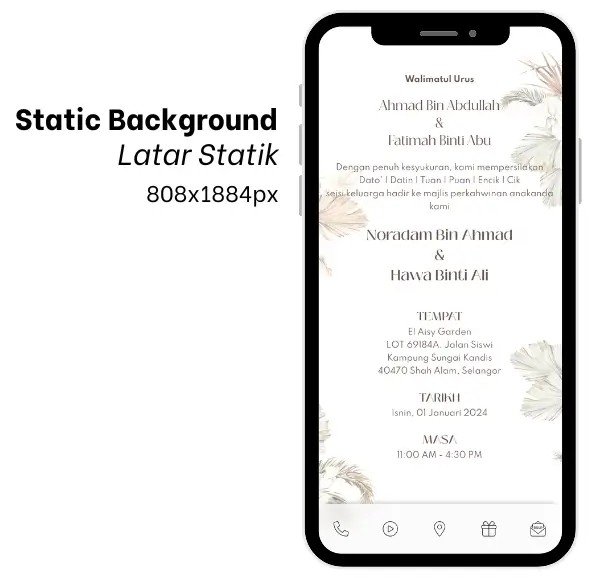
Static Background
- Static Background is the background image used throughout the card, except in the Programme BG section.
- The image of Static Background must follow the designated size (808x 1884 px).
- Below is an example of Static Background.

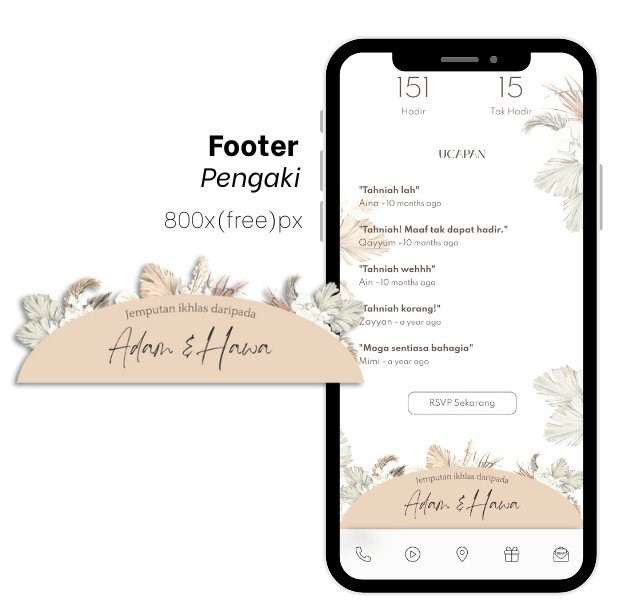
Footer
- Footer is the image positioned at the bottom of your card, providing a finishing touch to your card.
- The image must follow the designated size (808x free px).
- Below is an example of a Footer.

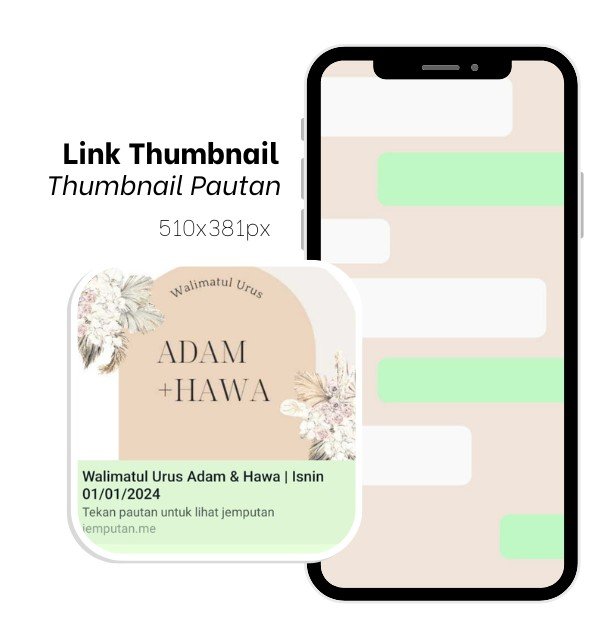
Link Thumbnail
- Link Thumbnail is the image that appears in your social media invitation preview.
- The image of Link Thumbnail must follow our designated size (510 x 381 px).
- Below is an example of Link Thumbnail.
Leave a Reply